Good Morning!
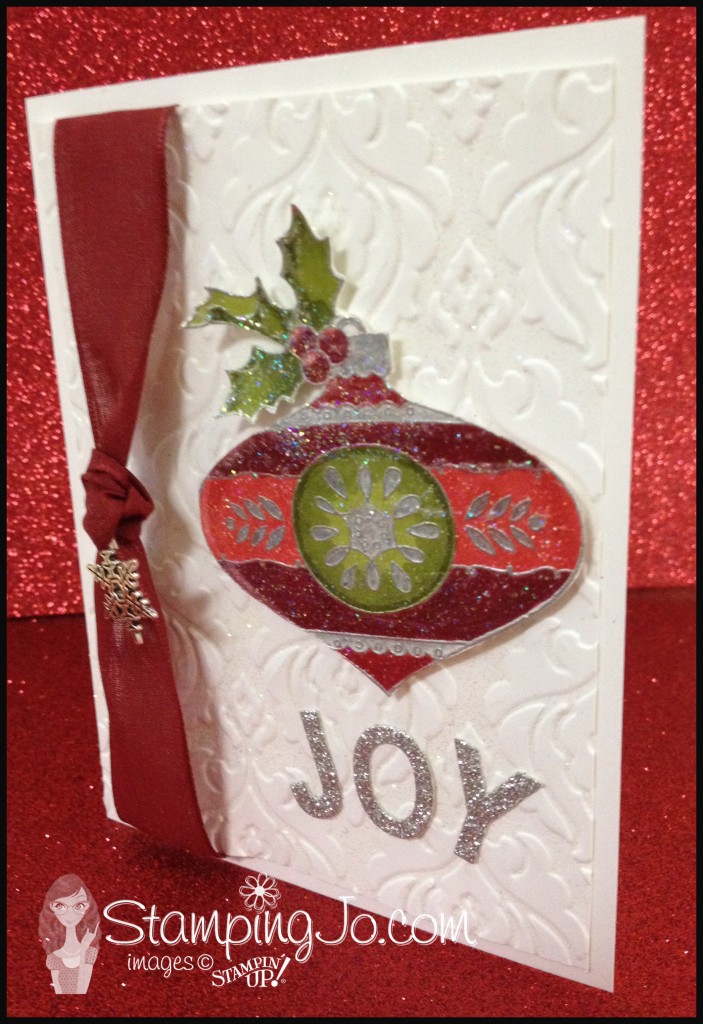
Welcome to this month's Happy Holidays Blog Hop! It's hard to believe the holidays are coming so quickly! I love this time of year though! I hope you enjoy the card I am sharing today!
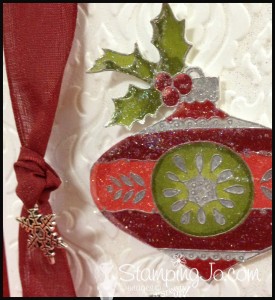
Isn't it just sparkly? 🙂 First thing I did was to emboss the background layer. It's a little hard to tell but the embossed layer is sparkly too! I dabbed the Versamark ink pad all over the inside top layer of the Beautifully Baroque embossing folder, put the paper in and then ran it through the Big Shot. Then I quickly added the Irisdescent Ice Embossing powder to the versamarked & embossed layer and set it with the Heat Tool. You can get two different looks from this technique depending on which side you add the versamark to!
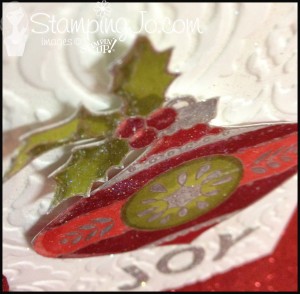
Next, I stamped the Christmas Bauble with the Versamark and then heat embossed it with Silver Embossing powder. Then I coloured it in with the Blendabilities, adding silver colour details with the Silver Dazzle Marker and a few highlights with the Chalk marker. Then I used a Craft Sheet to pour some Crystal Effects onto and mixed some Dazzling Diamonds glitter into the Crystal Effects. Then with an Aqua Painter, I painted the Crystal Effects mixture onto the Christmas Bauble in a thin layer. Once that was good and dry I trimmed around the bauble and adhered it to the background layer with Stampin' Dimensionals.
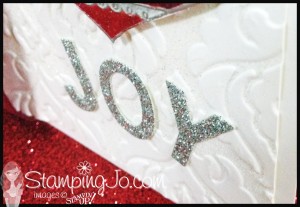
I used the Little Letters Thinlits and Silver Glimmer paper to create the word 'JOY' and adhered that to the background using the 2-Way Glue Pen.
The Cherry Cobbler Sheer linen ribbon was tied, and before pulling the knot tight I added the snowflake embellishment tied with some twine. Once I tightened the knot on the sheer ribbon, you can't see the twine, but you get a lovely dangling snowflake! Then the ribbon layer was attached to the background layer and that was then adhered to the card base.
I could have used a Cherry Cobbler or even the Brushed Silver Cardstock as the card base, but I really like how the Cherry Cobbler & Silver accents are the main focus on with the Whisper White card base. 🙂
Well, I hope you enjoyed my card and didn't get blinded by all that shine!! 😉 Thanks so much for stopping by!
Here is a list of supplies I used. You can click directly on each item to purchase in my store:
Now click Next Blog to hop on over to Laura Milligan's blog to check out what goodness she has in store for us!

November Hostess Code to use: 2793SE2R
When you use this code, you will receive the FREE SGGW Tutorial with 6 EXCLUSIVE VIDEOS!
>>Or you can purchase this month's tutorial for only $14.95/ subscribe for only $9.95/month click here
>>How to use the hostess code:
a. Enter your items into cart
b. At Check out- Look under "Special Offers" (bottom left)
c. Enter HOSTESS CODE in box and hit apply
NOTE: if your order is over $200, do not use the code so that you to claim the Stampin' Rewards on your order!



so very beautiful
Thank you Lee!