Skip to content
Hand Stamped Cards with Josee Smuck-Stampin' Up! Canada Demonstrator
Menu
  • Home
  • JO JO POINTS
  • **Join**
  • Monthly Craft Kit
  • Weekly News
  • Shop Now
  • Contact Me
Menu

Category: Tutorials

Fun with Rub-On’s

Posted on February 25, 2008February 27, 2008 by Josee

Rub-on’s are HOT, HOT, HOT!!!!! I’ve been wanting to play with them for a while and just haven’t found time until this weekend.

Here’s a quick step-by-step tutorial


 Step 1: Carefully take your rub-on sheets out of the package making sure to keep the backing on. This will keep the rub-on’s from transferring onto other surfaces. TIP: Tape your ends together to keep your backing in place.


Step 2:

Use your Hobby Blade to cut out the image that you need for your project. Make sure you keep the backing on until you are ready to add the rub-on on your project!


Step 3: (Adding to a 3D object) Clean cup with alcohol and let dry. Take backing off and tape rub-on to mug so it doesn’t move until you’re done.  


Step 4: Use included stick and rub everywhere until you see the image release from the sheet. Rub in circular motion and make sure you get it everywhere. Slowly and carefully remove the top sheet. If you find some of the rub-on not stuck on…just put your top sheet back down and rub again.

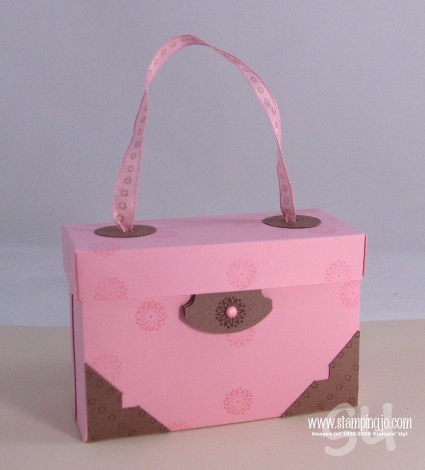
Here’s the finished project:

This image is from the Love & Happiness Rub-Ons from the Sale-A-Bration brochure. Don’t forget you only have until March 17th to order to qualify for this special.

We’ll be using Rub-On’s for one of my Stampers Club Projects in March. Want to join one of my clubs?? They’re really FUN and you get free stuff!!!! Visit my CLUB PAGE for more info.  Josee

Read more

Cute Box Alert- plus tutorial!

Posted on February 16, 2008 by Josee

I came across the cutest little box the other day while searching online and I just had to make one.  Since I was making it I thought I’d share my step-by-step tutorial to creating it!
I first saw the box posted on Splitcoaststampers by "flowerbugnd1" and she used the template from Julie Buhler on her blog.

Click HERE for my Step-by-Step Tutorial to create this fun project!


Supplies Used:
Stamp Set:  One of a Kind
Cardstock: Pretty in Pink, Close to Cocoa
Ink: Pretty in Pink, Chocolate Chip
Accessories: Round Tab Punch, 1/4" square punch, 1 3/8" square punch, Pretty in Pink Brad, Pretty in Pink Tafetta Ribbon, 1/4" circle punch, 1 1/4" circle punch, 1/8" circle punch

Click HERE for Julie Buhler’s Template

This box is such a cute little size! I used it to put goodies in for a teacher Valentine. I hope you all had a great Valentine’s and hugged the ones you loved!!!! We ended up at my daughter’s school for public speaking. She did a speech on "her little sister"…it was so cute to hear her talk about the baby with such love. Children are so precious!!! It’s certainly busy having 3 of them…but, so great to see how much they love each other. I was worried that the age difference would be hard for them (My first two are 7 and 6…and the baby is 10 mos) but, they really do love each other and get along well!

Have a HAPPY STAMPING DAY! Josee


Read more

Tutorial: Cutting your card

Posted on November 2, 2007 by Josee

I’ve created a new tutorial on how to cut a card! You’ll find it permanently on this page.

ANDĀ on the left hand side under Customer Resources.

Hope it helps!

JoseeĀ 

Read more

Posts pagination

  • Previous
  • 1
  • …
  • 3
  • 4
  • 5
  • 6

go to store