If you visit here often, you may know I love a good, versatile stamp set. A stamp set that can be used for several occasions is a great bang for your buck! The new Cheers to the Year stamp set from the 2017 Holiday Catalogue is one of those stamp sets. Here I used the stamp set and some of the products from the Year of Cheer Suite to create this gorgeous stamped wedding card!

How To Make This Hand Made Wedding Card:
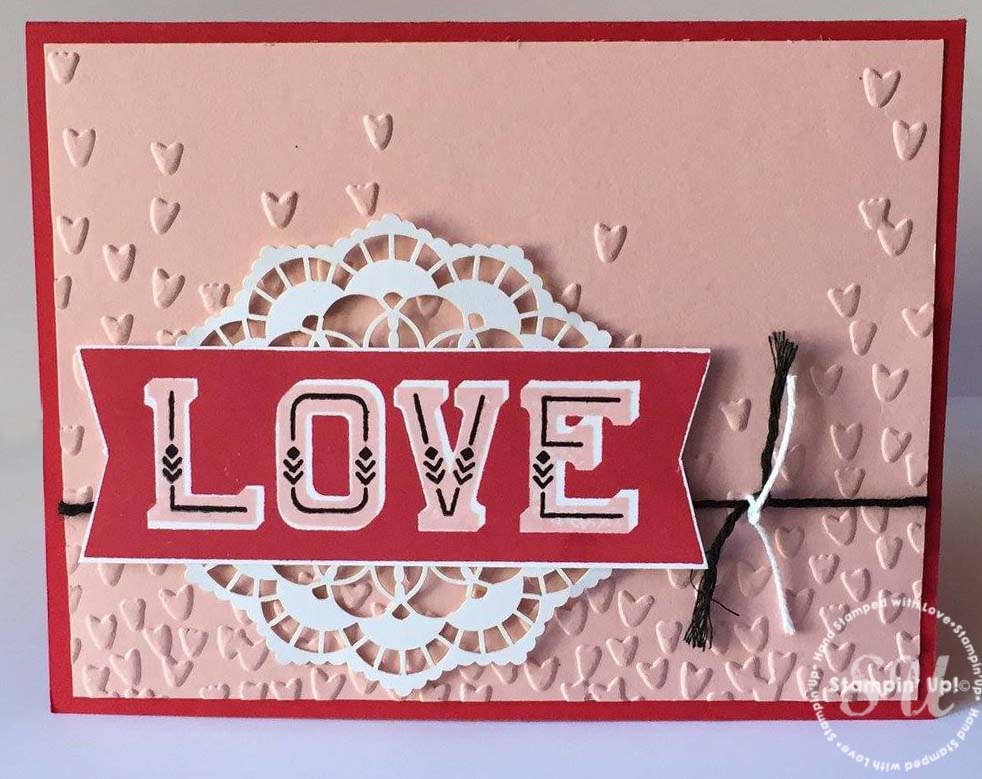
This card starts with a base of Thick Whisper White cardstock. Then a piece of Champagne Foil sheet was cut to fit on top.
The Year of Cheer Designer Series Paper was cut to mat on top of the Champagne Foil Sheet, but first it was run through the Big Shot in the Sweetheart Textured Impressions Embossing Folder– making sure to keep the heart centered. This embossed layer was adhered to the Champagne layer with Stampin’ Dimensionals and then added to the cardfront.
Then, the Sweet & Sassy Framelits were used to cut a piece of Champagne Foil sheet to the create the large heart and a piece of Whisper White cardstock to fit on top with a smaller heart die.
The Mr & Mrs from the Cheers to the Year stamp set was then stamped in Basic Black ink in the Whisper White heart. 
On a strip of Vellum Cardstock, the supporting greeting was stamped with Basic Black ink and heat set with the Heat Tool so it wouldn’t smudge. Then, the ends were cut with the Triple Banner Punch.
The hearts were adhered to the debossed heart on the cardfront with Stampin’ Dimensionals. The vellum was laid over top with some Mini Glue Dots that were then hidden under some Pearls Basics Jewels.

Stampin’ Up Stamps:
Cheers to the Year stamp set
Stampin’ Up Paper:
Thick Whisper White, Whisper White, Year of Cheer Designer Series Paper and Champagne Foil (from Year of Cheer Suite, page 36 of 2017 Holiday catalogue), Vellum cardstock,
Stampin’ Up Ink:
Basic Black
Other Stampin’ Up Supplies and Tools:
Sweetheart Textured Impressions Embossing Folder, Big Shot, Sweet & Sassy Framelits, Triple Banner Punch, Pearls Basics Jewels, Stampin’ Dimensionals, Mini Glue Dots, Heat Tool

QUICK LINKS:
[su_button url=”http://su-media.s3.amazonaws.com/media/catalogs/2017%20Holiday%20Catalog/Holiday%20Catalogs/20170614_Holiday17_en-CA.pdf ” target=”blank” style=”stroked” background=”#ff0066″ size=”4″ center=”yes” icon=”icon: book”]Download the 2017 Holiday Catalogue[/su_button]
NEW! 2017-2018 ANNUAL CATALOGUE– Download the PDF version or check out the new products in store
CLEARANCE RACK– Save up to 60%
JO JO POINTS– Earn free stamps with my Jo Jo Points Program
NEW to STAMPIN’ UP? Check out my tips here.